6 Trucos Efectivos para Trabajar el Cuero Natural (básicos)
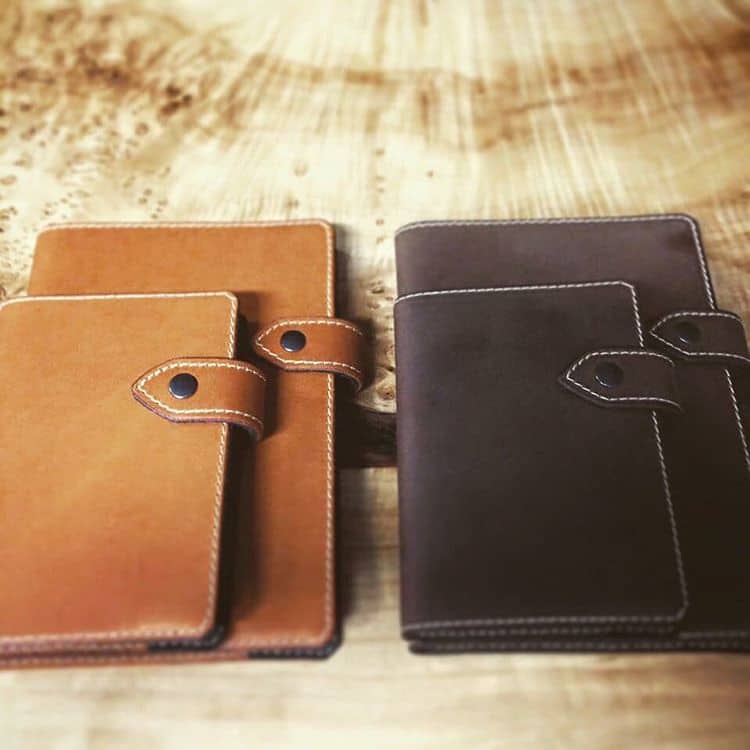
El cuero es un material natural y versátil que se utiliza en una amplia variedad de productos, desde ropa y calzado hasta muebles y accesorios.

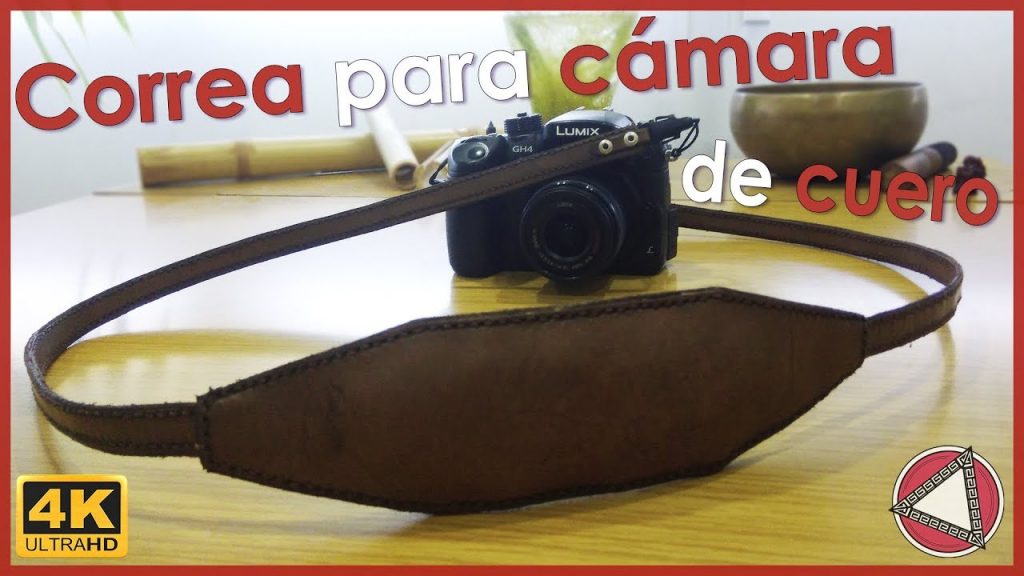
In this tutorial, we want to introduce to you in how to make a leather belt for a photograph camera, with this, you are going to be able of making it as you like and by the easiest way to do it.
Before start to instruct you step by step, you must know what material and tools you are going to need, to elaborate your own leather belt..
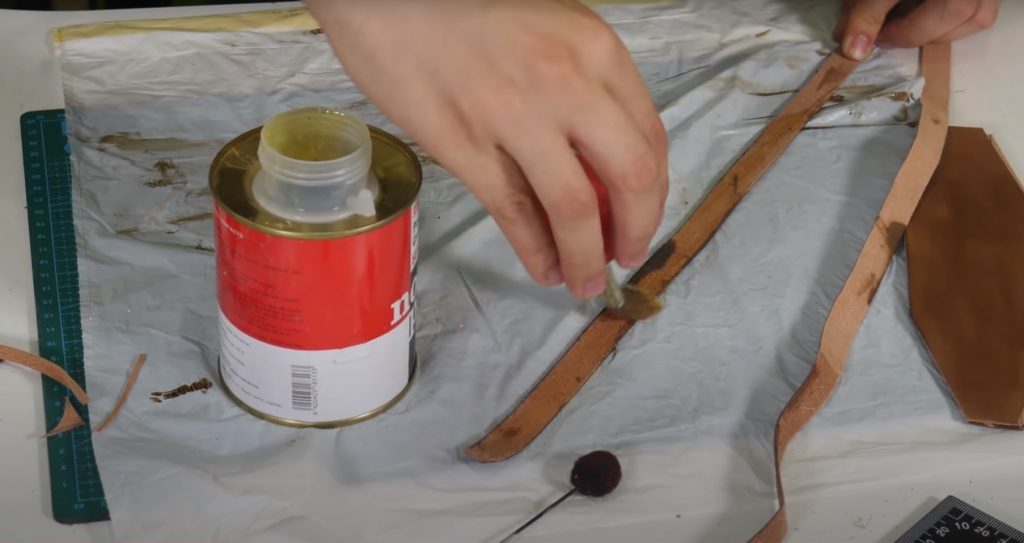
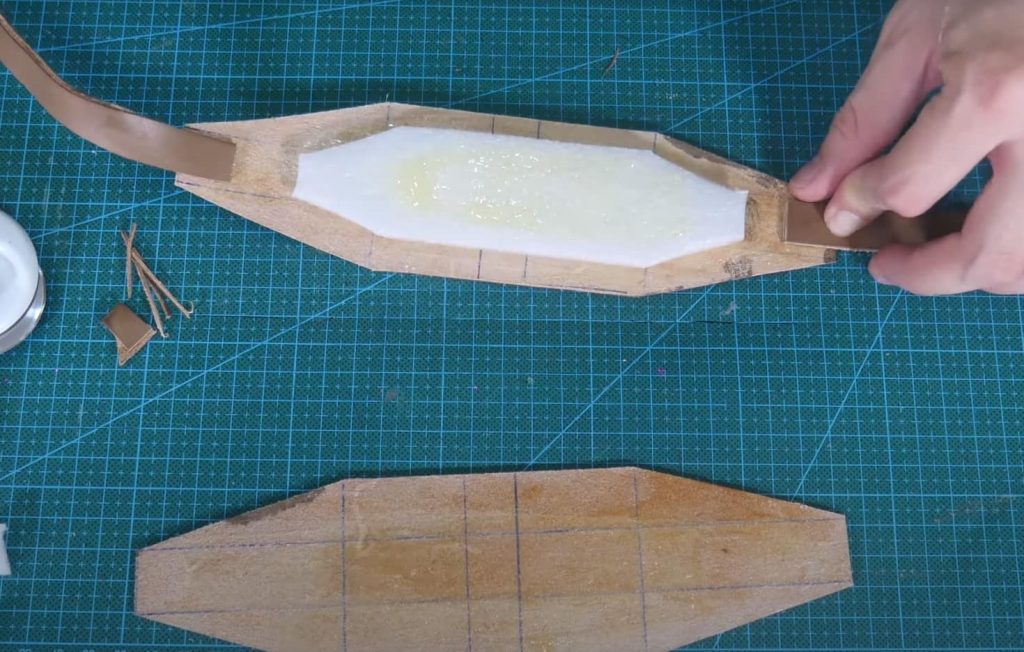
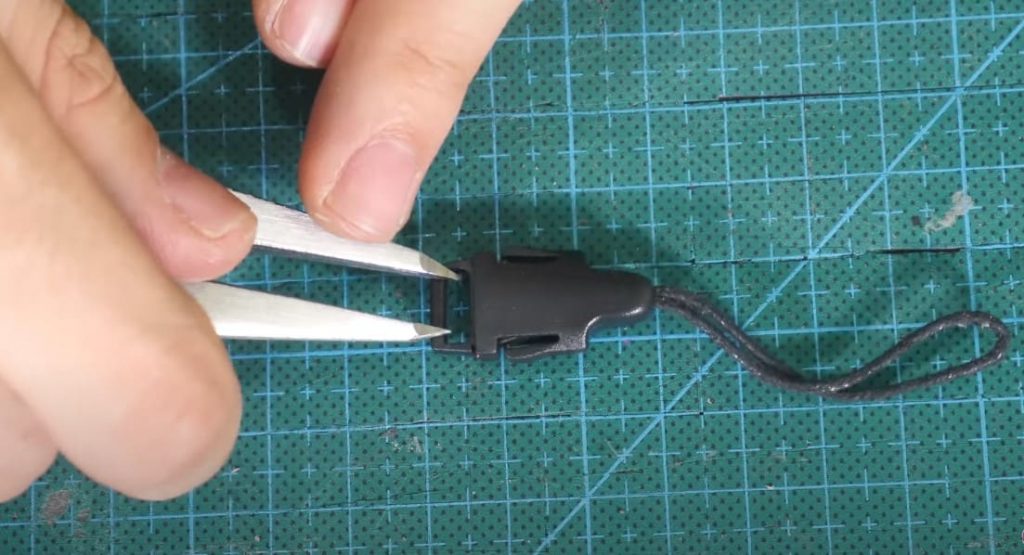
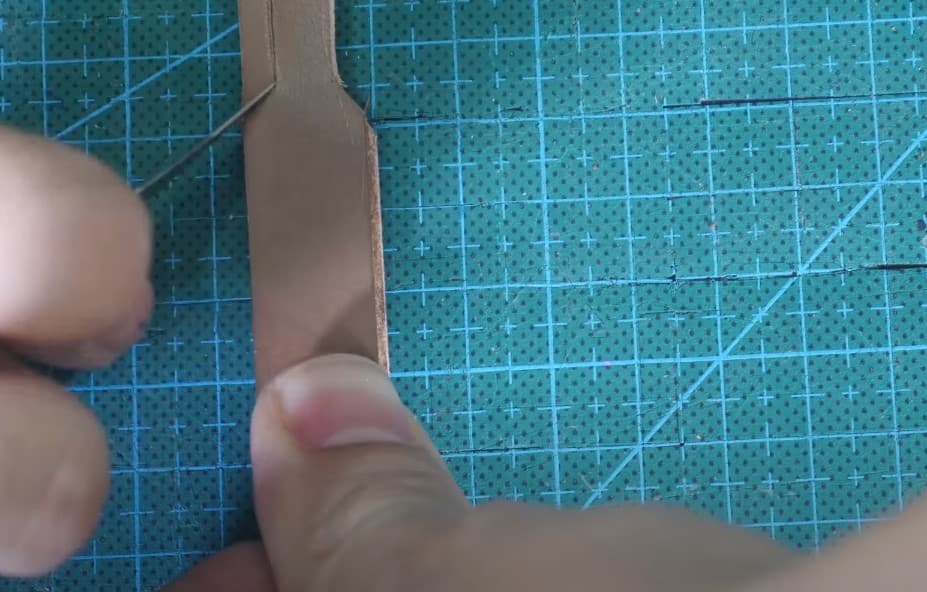
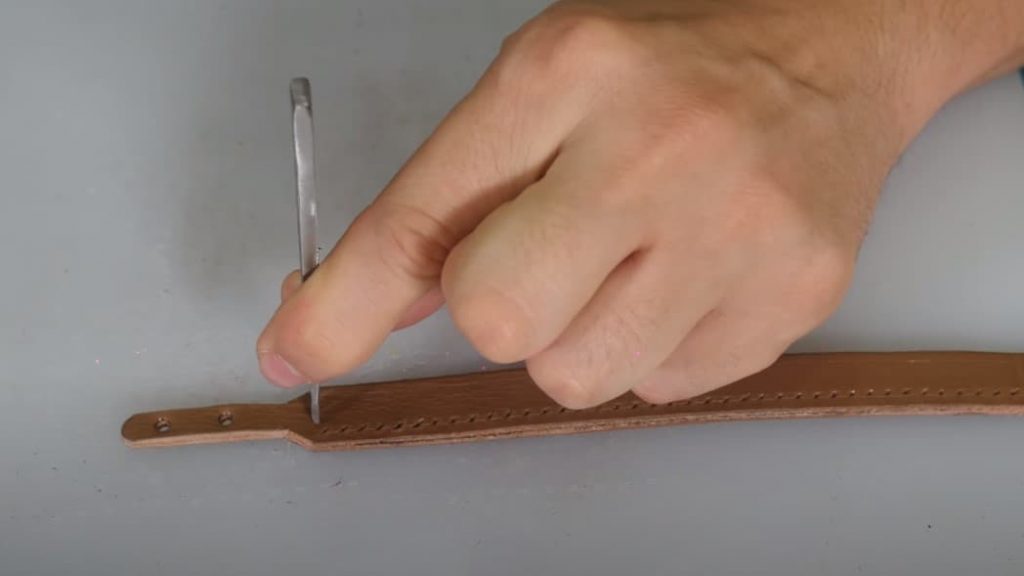
With the materials and tools necessary to do the job next to the hands, only left to follow the step by step procedure to elaborate leather belt for photograph camera:
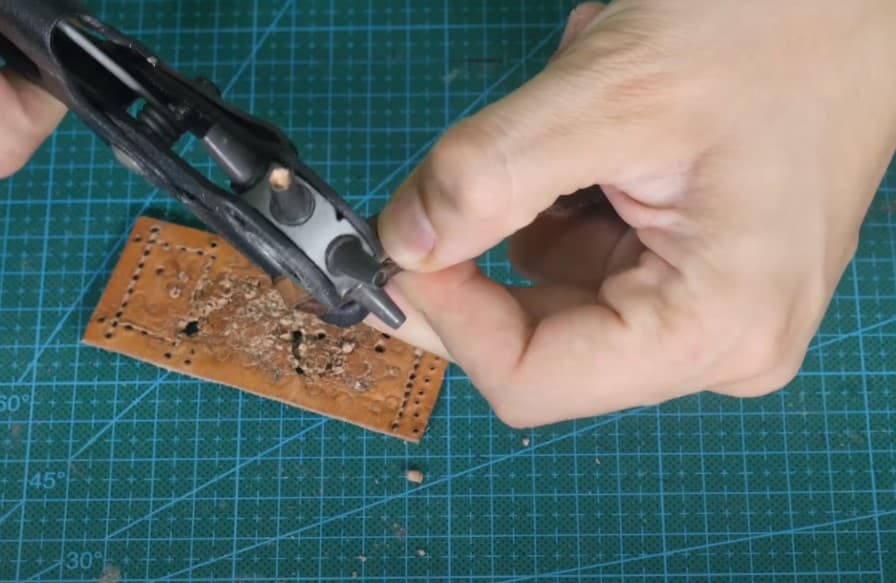
As you can see, make a leather belt for a photograph camera is not so difficult task at all. You must to dispose of all the materials and tools which make you an easier job.
Some skills and training are necessary to sharp a little bet your dexterity and optimize your work time, but beside of this, there is nothing more to do.
STEP BY STEP video:
El cuero es un material natural y versátil que se utiliza en una amplia variedad de productos, desde ropa y calzado hasta muebles y accesorios.
La moda sostenible se ha convertido en un tema cada vez más importante en los últimos años, con un enfoque en la reducción del impacto
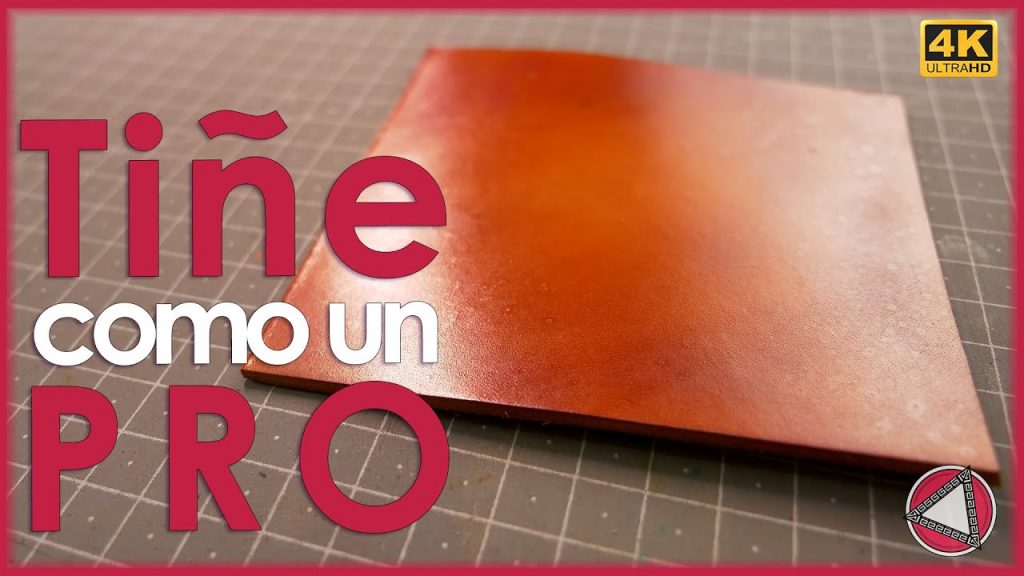
Today we are going to do a professional dyeing technique. We are going to give a different and professional touch to your leather products.