



Introduction
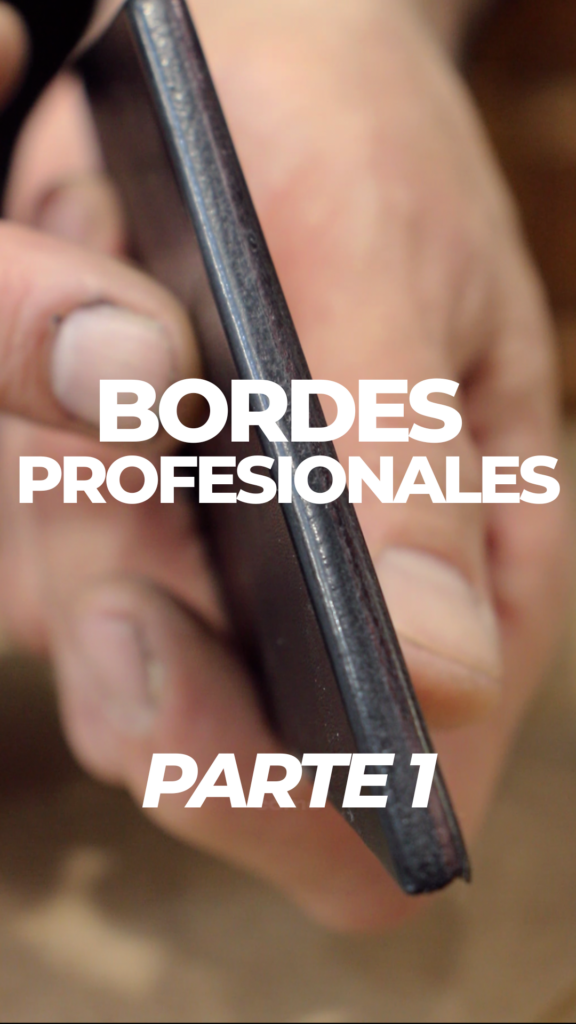
Good leatherwork shows in the details… and the edge is EVERYTHING.
A well-finished edge says quality, craftsmanship and durability.
Here's the actual process we use in our workshop 👇
Step 1: Trim the edge flush
Before you burnish, you need a perfect base.
👉 Make a clean cut so all the layers sit flush
This removes any steps between layers and gets the edge ready for finishing.
💡 Tip: the better you do this step, the less work you'll have later.
Step 2: Progressive sanding (the key to the result)
This is where amateur and professional work part ways.
Work your way through several grits:
- Coarse grit → level
- Medium grit → smooth
- Fine grit → prep for burnishing
👉 The goal: a perfectly even, smooth edge.
Use a edgers to round over the edges.
- Feels better in the hand
- Prevents premature wear
- Gives a more professional finish
👉 This is step 3, bevelling: it sets the final look of the edge.
Step 4: Apply Tokonole
Apply a small amount of Tokonole to the edge.
- Moistens the fibres
- Compacts the leather
- Makes burnishing easier
👉 It's one of the secrets of a professional finish.
Step 5: Burnish… and repeat
Rub with:
- Wooden burnishers
- Canvas cloth
- Or a machine
And repeat the process if needed:
👉 Tokonole + burnishing = mirror finish
WATCH THE VIDEO
Part 1
Part 2