6 Trucos Efectivos para Trabajar el Cuero Natural (básicos)
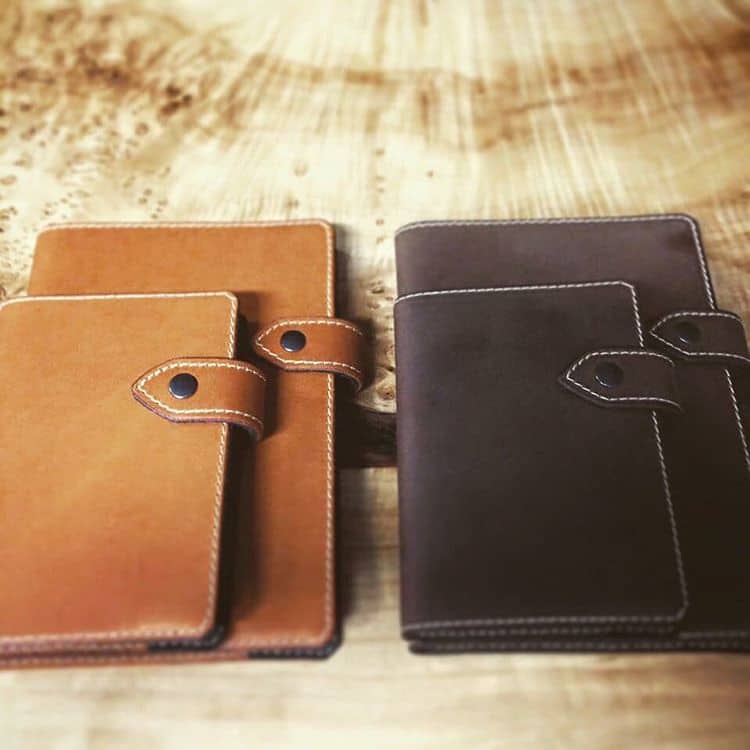
El cuero es un material natural y versátil que se utiliza en una amplia variedad de productos, desde ropa y calzado hasta muebles y accesorios.

Through the leather's use, a lot of object of different kind can be manufactured, due to his elegancy and duration, so on this article is going to be focused on train you in the leather homemade card wallet, easiest practices to create it.
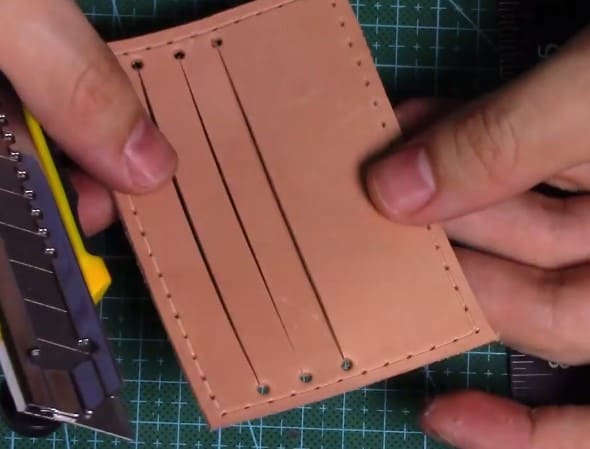
In this guide, we are going to be focused on how to create a leather homemade card wallet, in order to give you enough skills for being able of making it by yourself.
With the following steps as it is ordered at below instructions as well, you are going to be able of study which materials and tools are necessary to make the leather homemade card wallet:
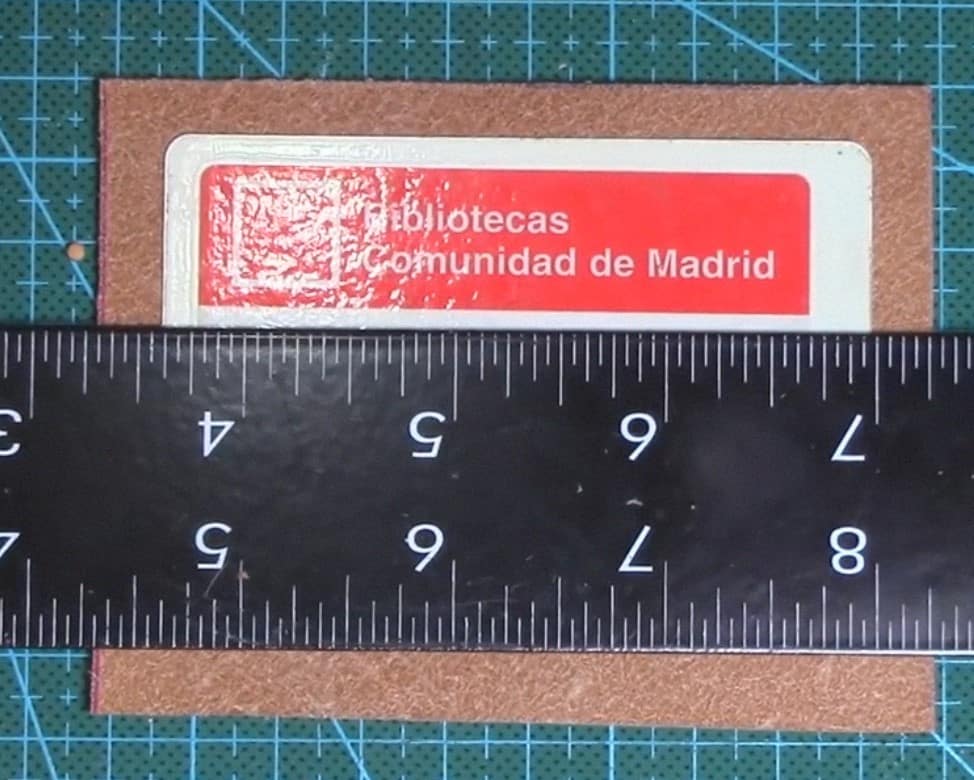
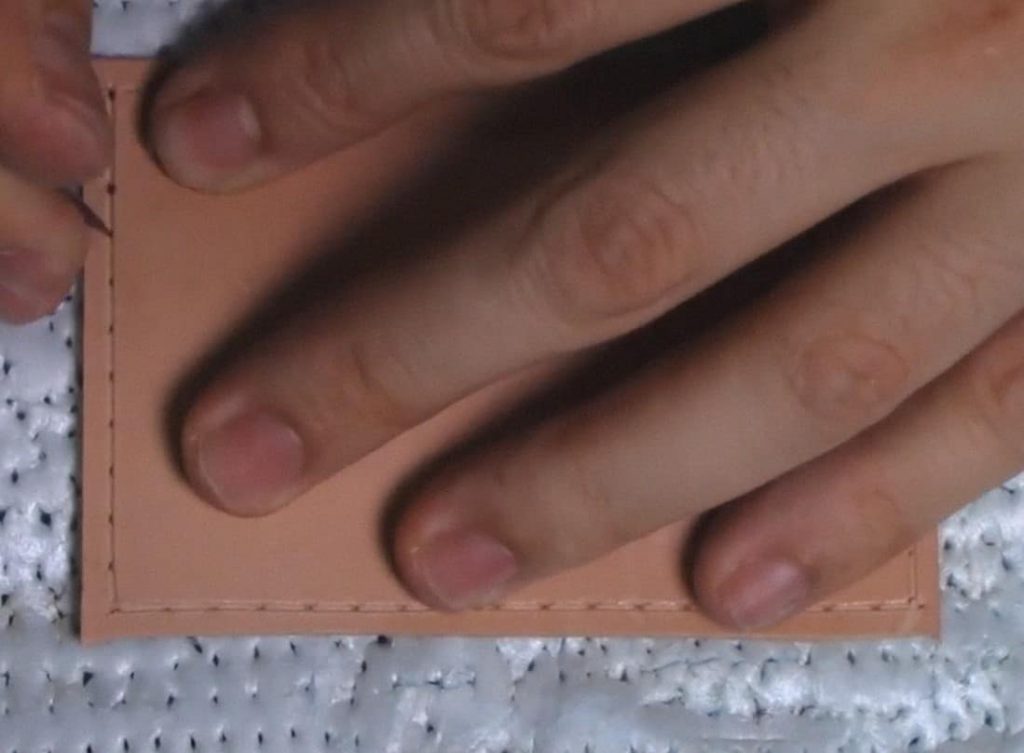
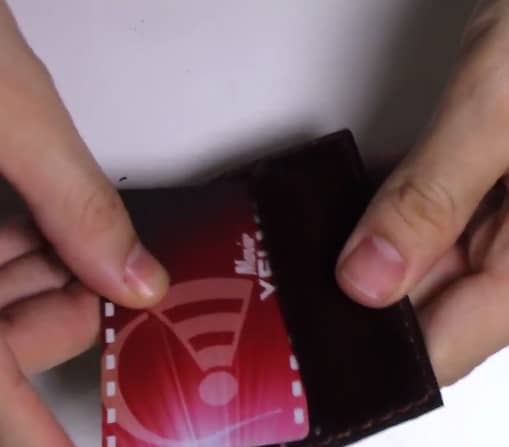
Make homemade card wallets of leather is very simple, just requires materials and tools and materials to work with leather which are basics and some time to dedicate it.
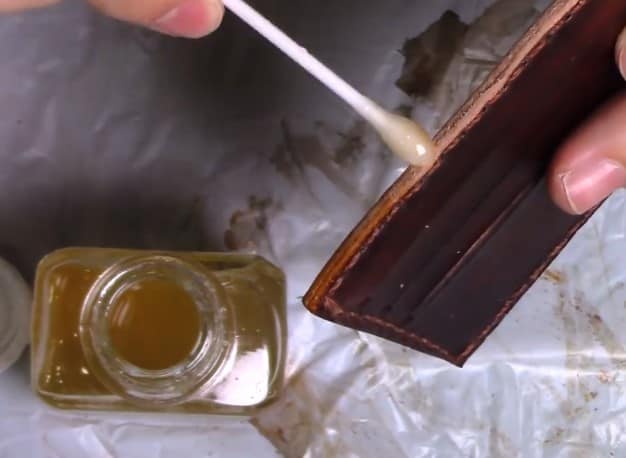
You must be aware that in this tutorial we has used an specific ink color, worst, you can choose the ink color of your preference.
If you want to detail each step explained, watch the video and learn quickly how to make homemade card wallets of leather.
El cuero es un material natural y versátil que se utiliza en una amplia variedad de productos, desde ropa y calzado hasta muebles y accesorios.
La moda sostenible se ha convertido en un tema cada vez más importante en los últimos años, con un enfoque en la reducción del impacto
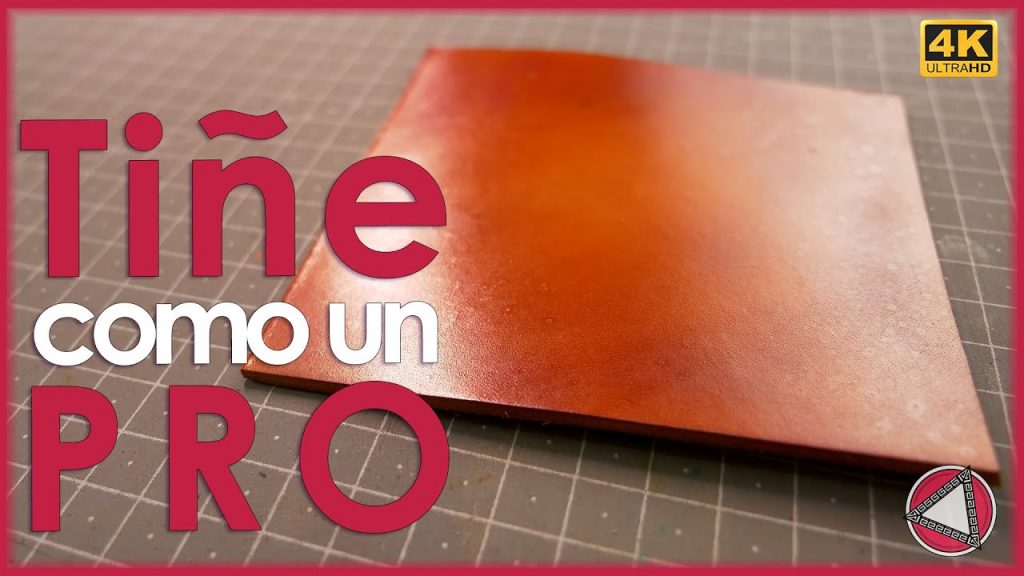
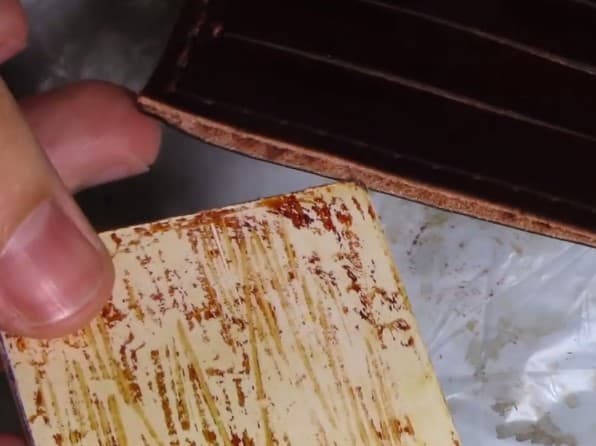
Today we are going to do a professional dyeing technique. We are going to give a different and professional touch to your leather products.